You sculpted, scanned, or generated a mesh, and now you're staring at a wall of uneven triangles. Before you can rig it, animate it, or drop it into a game engine, someone has to turn that mess into clean, evenly spaced quads. That process is retopology, and it's one of the most debated steps in the entire 3D pipeline, because there are two completely different ways to do it and picking the wrong one costs you hours.
This is a breakdown of manual retopology versus automatic retopology in Blender: how each actually works, what you gain and lose with each, and a decision framework so you stop guessing which one to reach for.
What Retopology Actually Solves
A sculpted or scanned mesh is usually dense, made of uneven triangles, and has no consistent edge flow. That's fine for sculpting detail, but it's a problem for almost everything that comes after: rigging needs predictable edge loops around joints to deform correctly, UV unwrapping needs a sane topology to avoid stretching, and game engines need a specific, low triangle count that a sculpt-resolution mesh doesn't have.
Retopology rebuilds the surface with a new, clean mesh, typically quads, that follows the shape of the original but is built for the next stage of the pipeline instead of for sculpting.
Manual Retopology in Blender
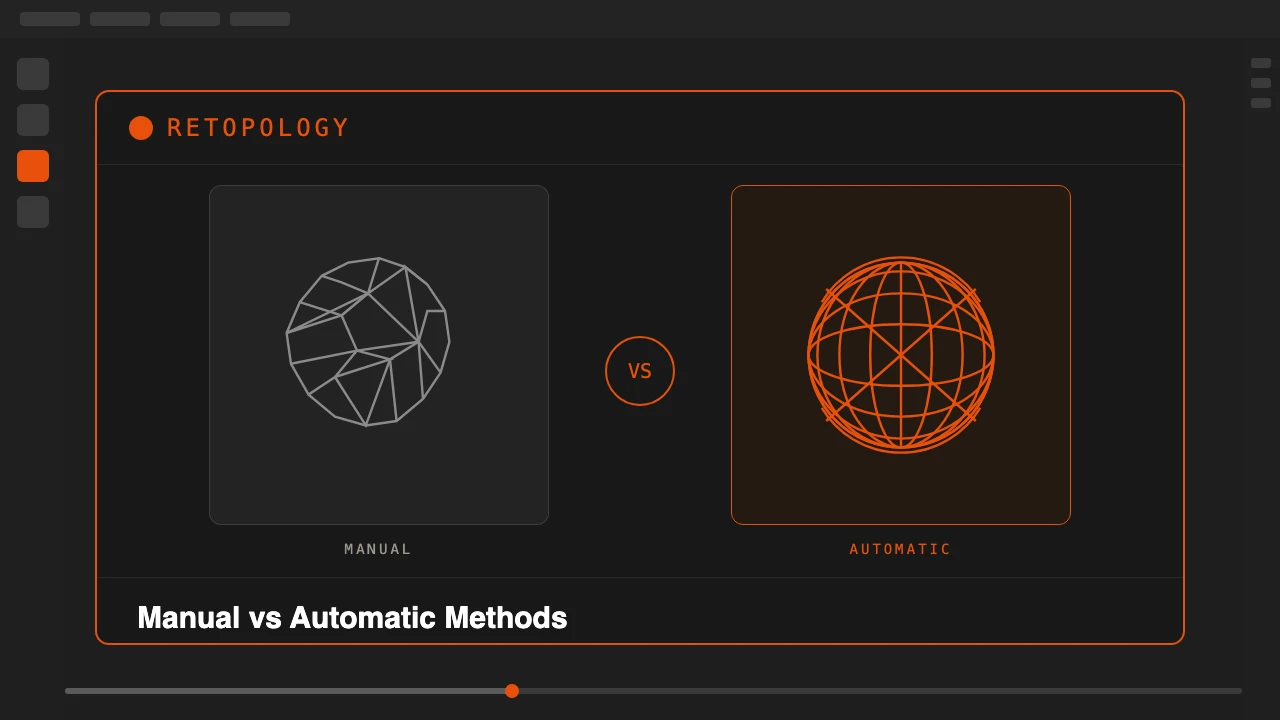
Manual retopology means drawing the new topology yourself, edge by edge, on top of the original mesh. Blender's built-in tools for this are the Poly Build tool, the Shrinkwrap modifier (to snap your new geometry to the sculpt's surface), and Snap-to-Face in edit mode. You place vertices, extrude edge loops, and consciously route them around eyes, mouths, elbows, and knees: the areas that actually need to deform.
The advantage is total control. You decide exactly where every edge loop goes, which means you can put extra resolution exactly where a character needs to bend and keep everything else lean. For a hero character that's going to be seen in close-up and animated heavily, that control is genuinely worth the time it costs.
The cost is exactly that: time. A single production-ready character head can take an experienced artist a few hours of manual retopology. A full body with clothing can take a full day or more. It's also a skill with a real learning curve. Knowing where edge loops need to go for good deformation isn't obvious until you've done it wrong a few times.
Automatic Retopology Methods
Automatic retopology uses an algorithm to generate the new topology for you. Blender has two built-in options: the Remesh modifier in Voxel or Quad mode, and the Quadriflow Remesh operator (Mesh → Remesh → QuadriFlow). Both analyze your mesh's surface and generate a new quad-based (or triangulated, for basic Voxel mode) mesh at a resolution you specify.
These built-in tools are genuinely useful for quick iteration, but they come with real limitations: they don't preserve your UVs, materials, vertex groups, or shape keys, and all of that gets rebuilt from scratch after the remesh. They also tend to cap or distort features you actually wanted to stay open, like eye sockets, nostrils, and sleeve cuffs, unless you manually protect those areas first.
This is the gap that dedicated retopology addons close. Instead of just generating quads and leaving you to rebuild everything else, a tool built specifically for production retopology handles the entire chain in one pass.
QuadForge runs automatic quad retopology directly in Blender's viewport, and in the same click it rebakes your PBR textures, transfers rig weights and shape keys, and generates a full LOD chain.
The difference matters in practice. With Blender's native Quadriflow Remesh, retopologizing a textured, rigged character means: remesh, then manually re-unwrap UVs, then manually rebake every texture map, then manually re-skin the mesh to the armature, then rebuild any shape keys by hand. With a tool that keeps genuine holes open, mirrors symmetric halves automatically, and carries the material, rig, and shape keys through the remesh, that entire sequence becomes one operation.
Manual vs Automatic: A Practical Decision Framework
Neither method is universally "better". They solve different problems. Here's how to actually decide:
The pattern: manual retopology earns its cost when a shape needs to deform in a very specific, visible way, like faces, hands, and anything that gets close-up screen time. Automatic retopology wins whenever you need a result fast, need many assets processed the same way (a full LOD chain, a batch of scanned props), or the mesh doesn't need hand-tuned deformation at all.
A Practical Workflow That Combines Both
In real production, most pipelines use both methods on the same asset. A common approach: run automatic retopology first to get a clean, evenly distributed quad base mesh with your textures and rig already carried over. Then, only in the specific areas that need better edge flow for deformation (the face, the underarms, the knee and elbow joints), go in manually and adjust the loops by hand.
This hybrid approach gets you most of the time savings of automatic retopology while still hand-tuning the small percentage of the mesh where deformation quality actually matters. It's a far better use of an artist's time than manually retopologizing an entire body when only the face needs the attention.
Common Retopology Mistakes to Avoid
Capping holes that should stay open is the most common one: eye sockets, mouths, and sleeve openings get sealed shut by a generic remesh, which then has to be manually cut open again. Ignoring symmetry is another. Retopologizing a symmetric character asymmetrically means double the manual work when a mirror-and-remesh approach would have given you a perfectly matched result in one step.
The other frequent mistake is retopologizing before finalizing the sculpt. Every time you go back and change the high-resolution sculpt after retopology, you either have to redo the retopology or manually re-project the new topology onto the changed surface. Lock the sculpt first, retopologize second.
Frequently Asked Questions
Is automatic retopology as good as manual retopology in Blender?
For hero characters going into close-up shots, manual retopology still gives more control over edge flow around joints and facial features. For background props, game assets, LODs, and anything on a deadline, modern automatic tools produce clean, deform-ready quads that are good enough for production and take a fraction of the time.
Does Blender have built-in automatic retopology?
Yes. Blender's Remesh modifier (Voxel and Quad modes) and the Quadriflow Remesh operator both do automatic retopology natively, no addon required. They work well for quick results but offer little control over edge flow, hole preservation, or getting your material and rig back afterward.
How do I keep my textures and rig after retopologizing a mesh?
Blender's built-in remesh tools discard UVs, materials, vertex groups, and shape keys, so you have to rebuild all of it manually. Dedicated retopology addons like QuadForge handle this automatically: they rebake your PBR textures onto the new UVs and transfer vertex groups, armature weights, and shape keys to the new mesh in the same operation.
What is the fastest way to retopologize a mesh for a game engine?
For game-ready assets, automatic retopology is almost always faster and sufficient, especially when you also need a full LOD chain. A tool that quad-remeshes, rebakes textures, and generates LOD0 through LOD3 in one pass removes several separate manual steps from the pipeline.
Skip the manual UV rebuild, texture rebake, and re-weighting after every remesh.